Tablet looms have some interesting properties. Firstly, they are very very old – our neolithic ancestors invented them. Secondly they are quite straightforward to make and weave but form an extremely complex structure that incorporates both weaving and braiding (and one I haven’t managed to simulate correctly yet) – they are also the only form of weaving that has never been mechanised.
I’ve learned to warp tablets very much by trial and error, so I expect there are many improvements possible (please let me know), but as I had to warp a load of tablet looms for the weavecoding workshop in Düsseldorf last week, I thought I’d document the process here.
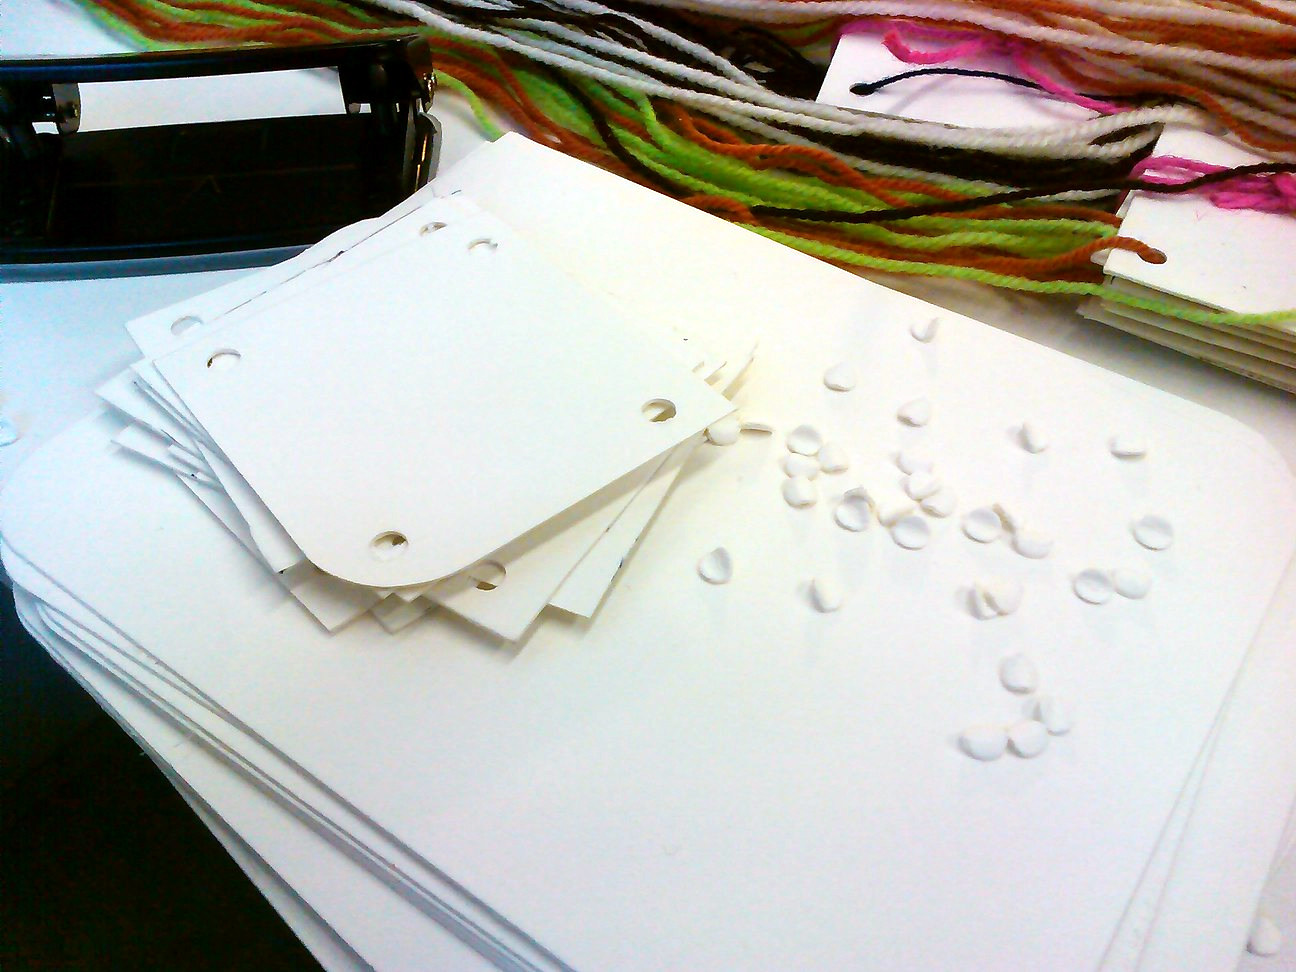
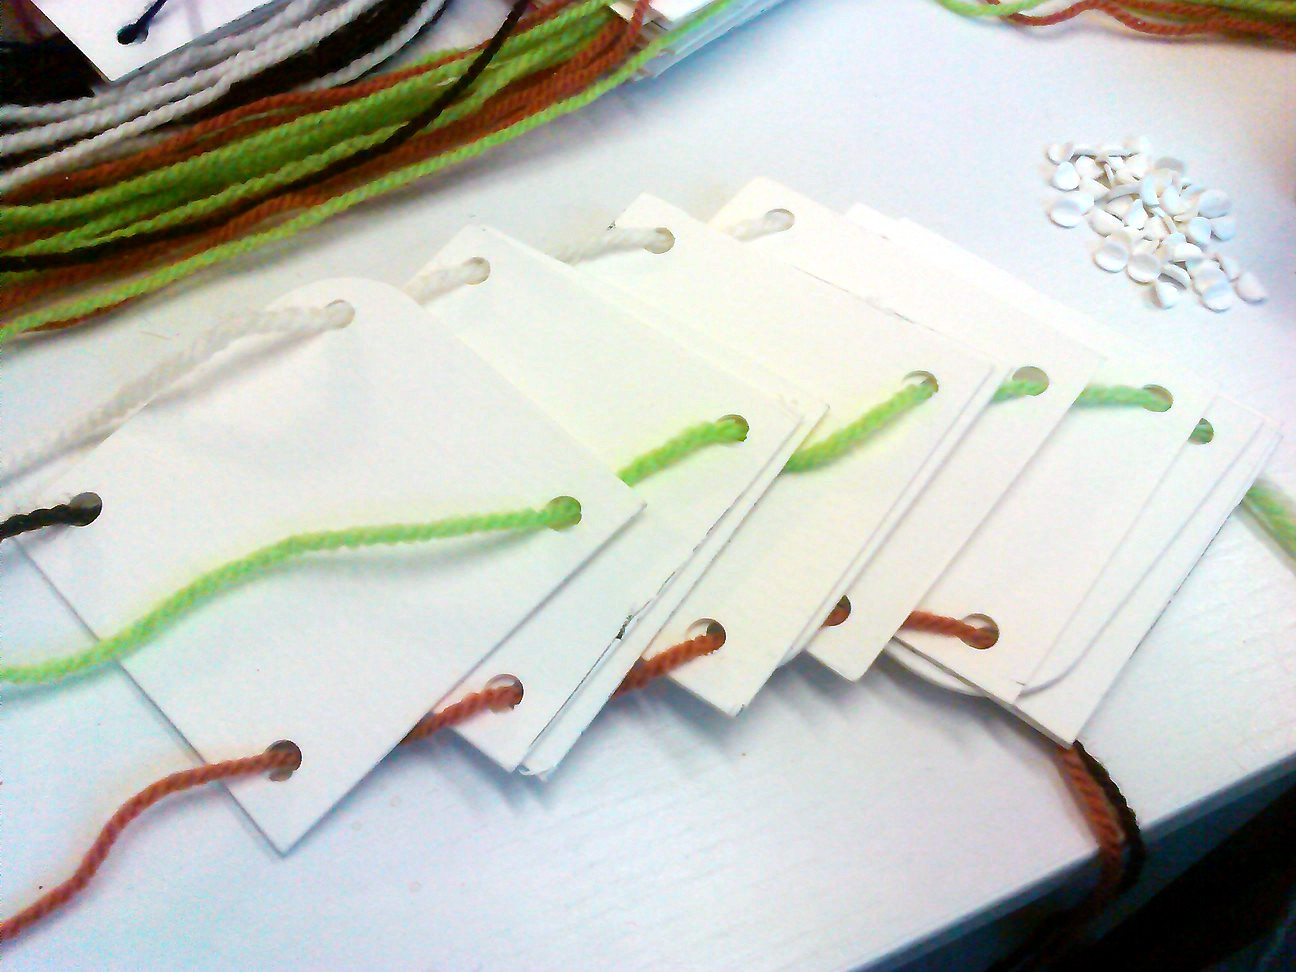
The first thing you need to do is make the tablets themselves from fairly stiff card. You need squares of about 5cm, and holes punched out from the corners. Beer mats or playing cards are good, I’m just using recycled card here. It saves a bit of time later if you can get the holes lined up when the tablets are stacked together – but I’ve never managed to do this very well. A good number of cards to start with are 8 or 10, fewer in number are easier to manipulate and use less yarn – if you don’t have
much to spare.
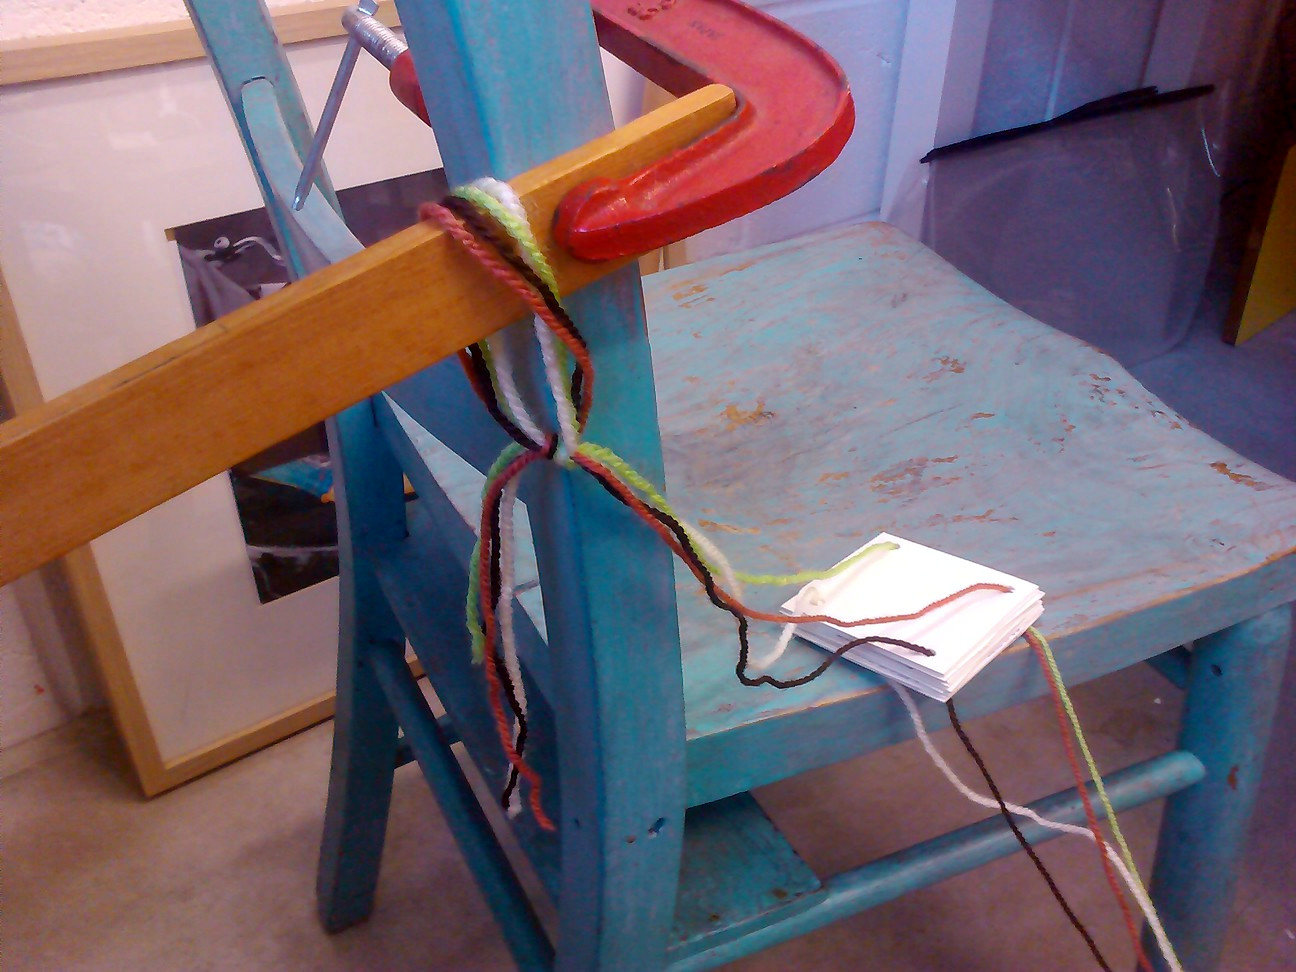
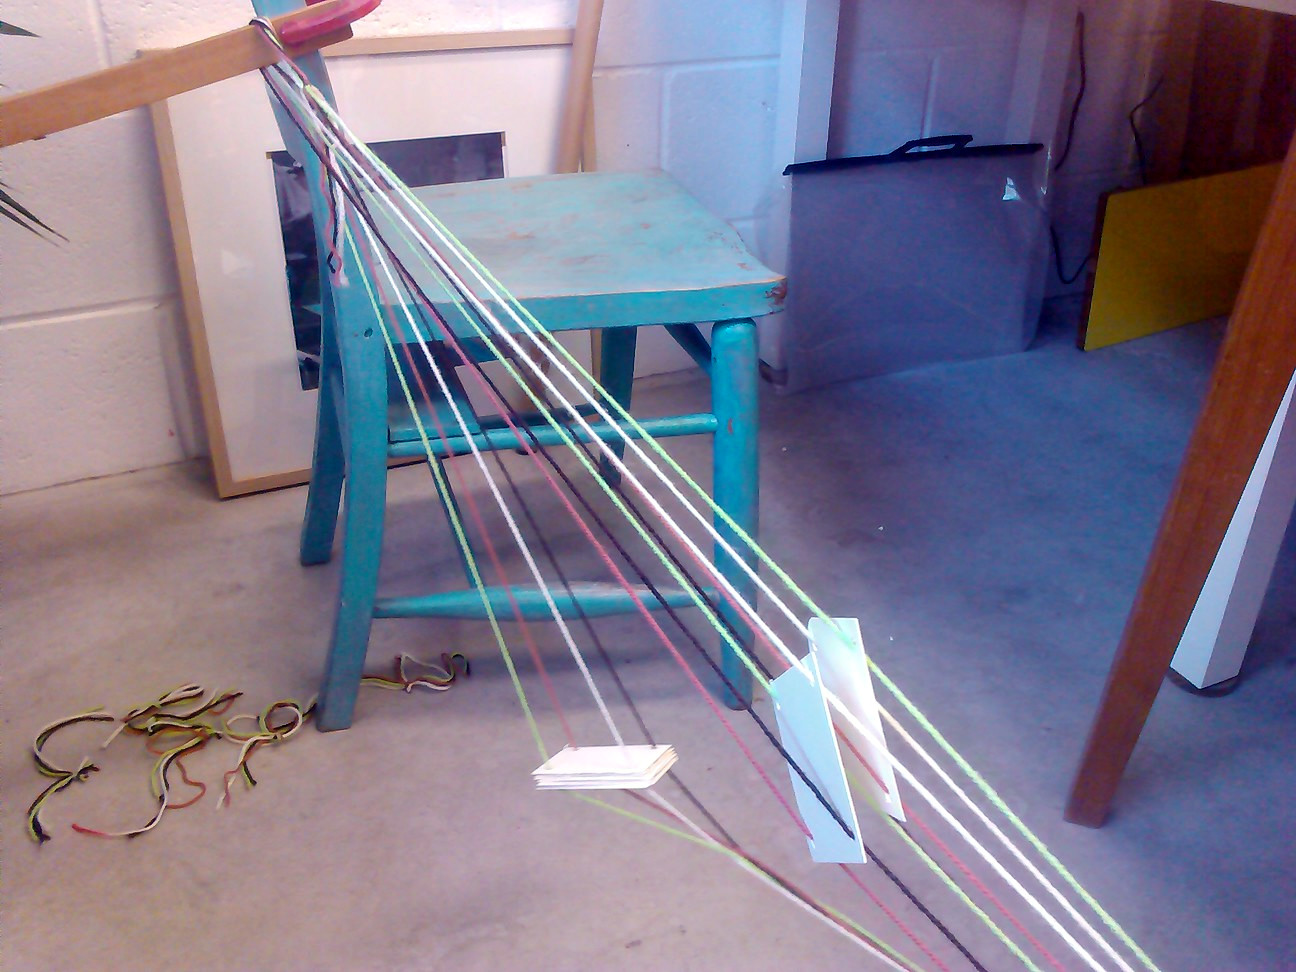
The second step is to prepare the warp yarn. You need four separate balls or cones of wool – it’s easiest to start with four different colours, although you can make more patterns with double faced weave (two colours opposite each other on the cards). Fluffy knitting wool works fine but can catch and be annoying sometimes, cotton is better. In order to help prevent the yarn getting tangled together which is probably the biggest problem with this job – it’s a good idea to set this up so the yarn passes through the back of a chair with the yarn on the floor like this – it restricts the distance the balls roll as you pull the yarn.
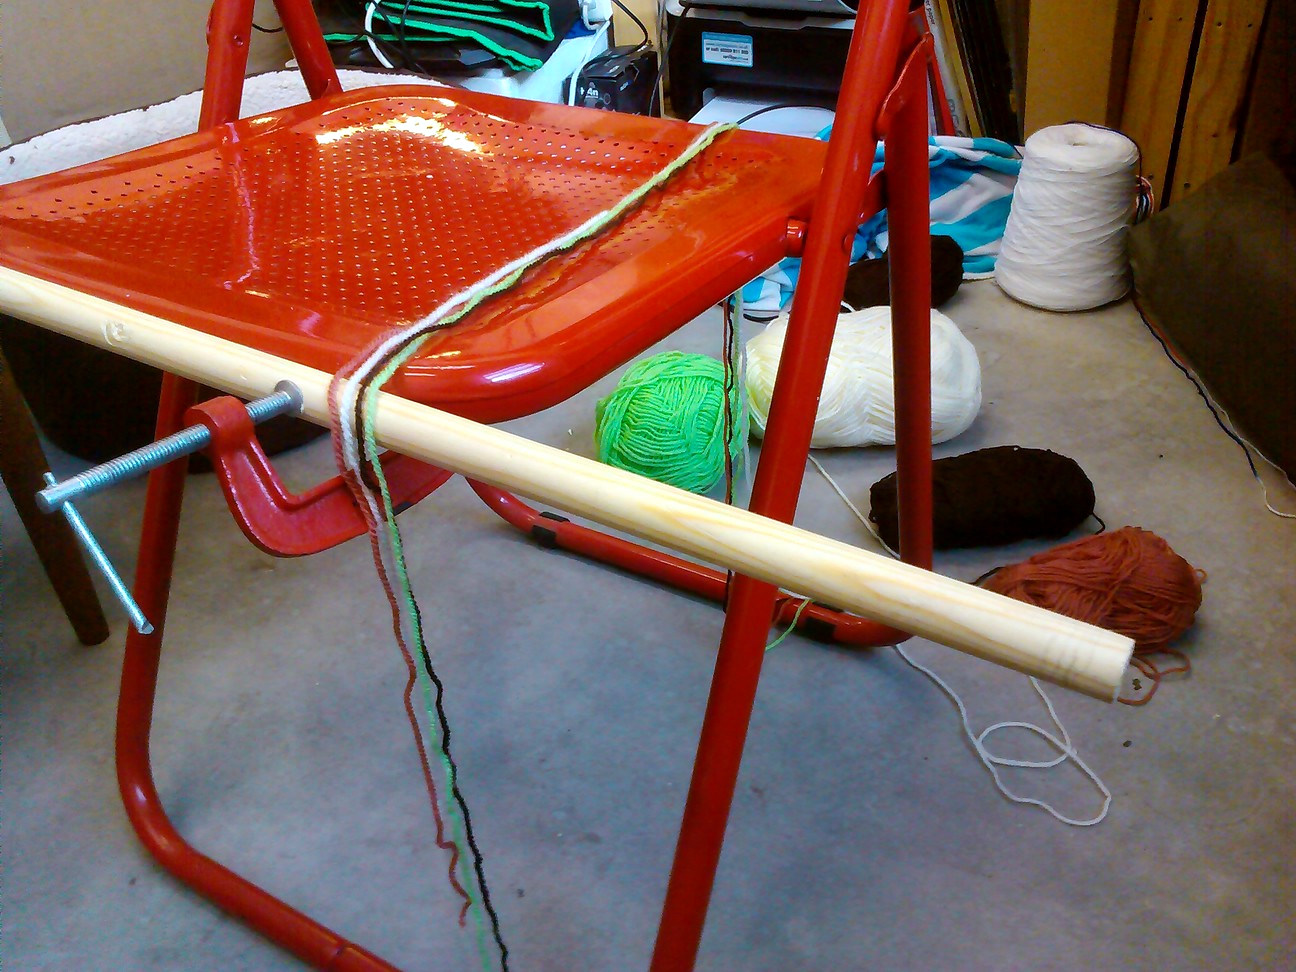
You need two sticks you can easily loop the warp over, I’m using a cut broom stick clamped to the chair here. The distance between them determines how long the final woven band will be, a metre or so is good.
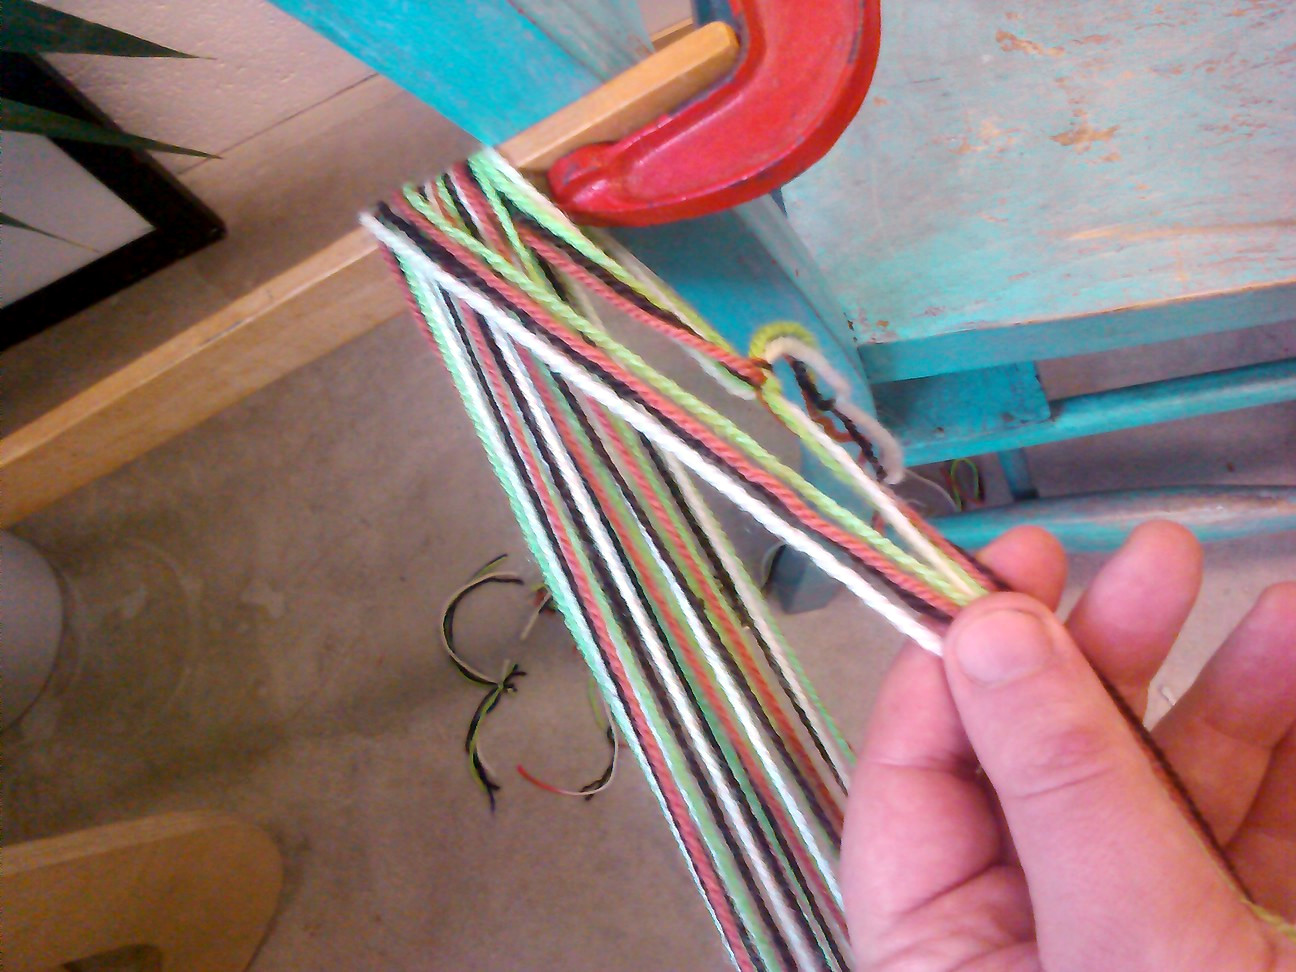
Next you need to thread each of the four warp threads through the corners of the tablets – each thread needs it’s own corner so be careful not to mix them up. If the holes line up you can do them all at once, otherwise it’s one by one.
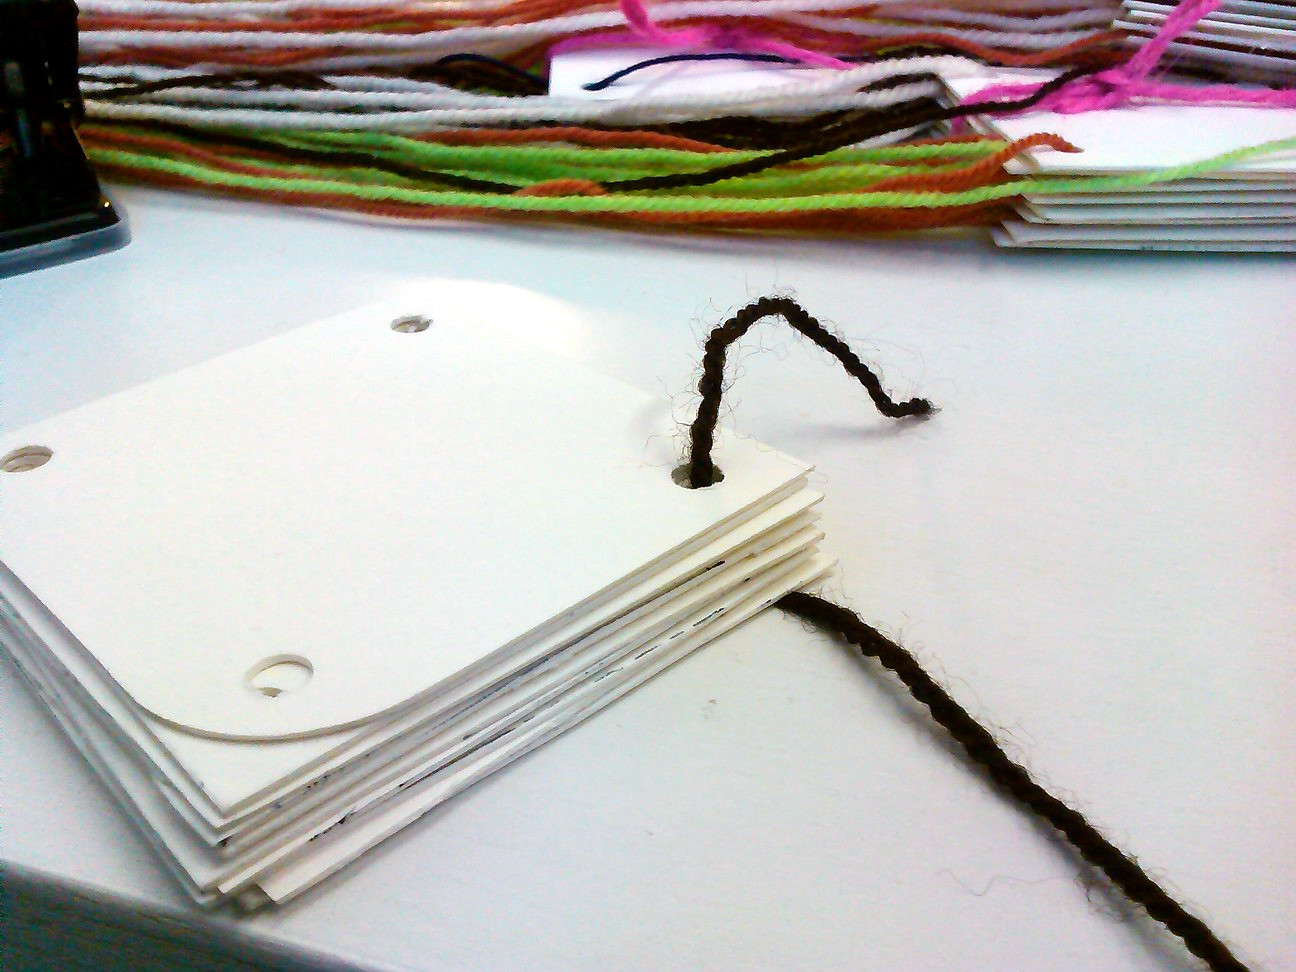
Here are the tablets with all the corners threaded.
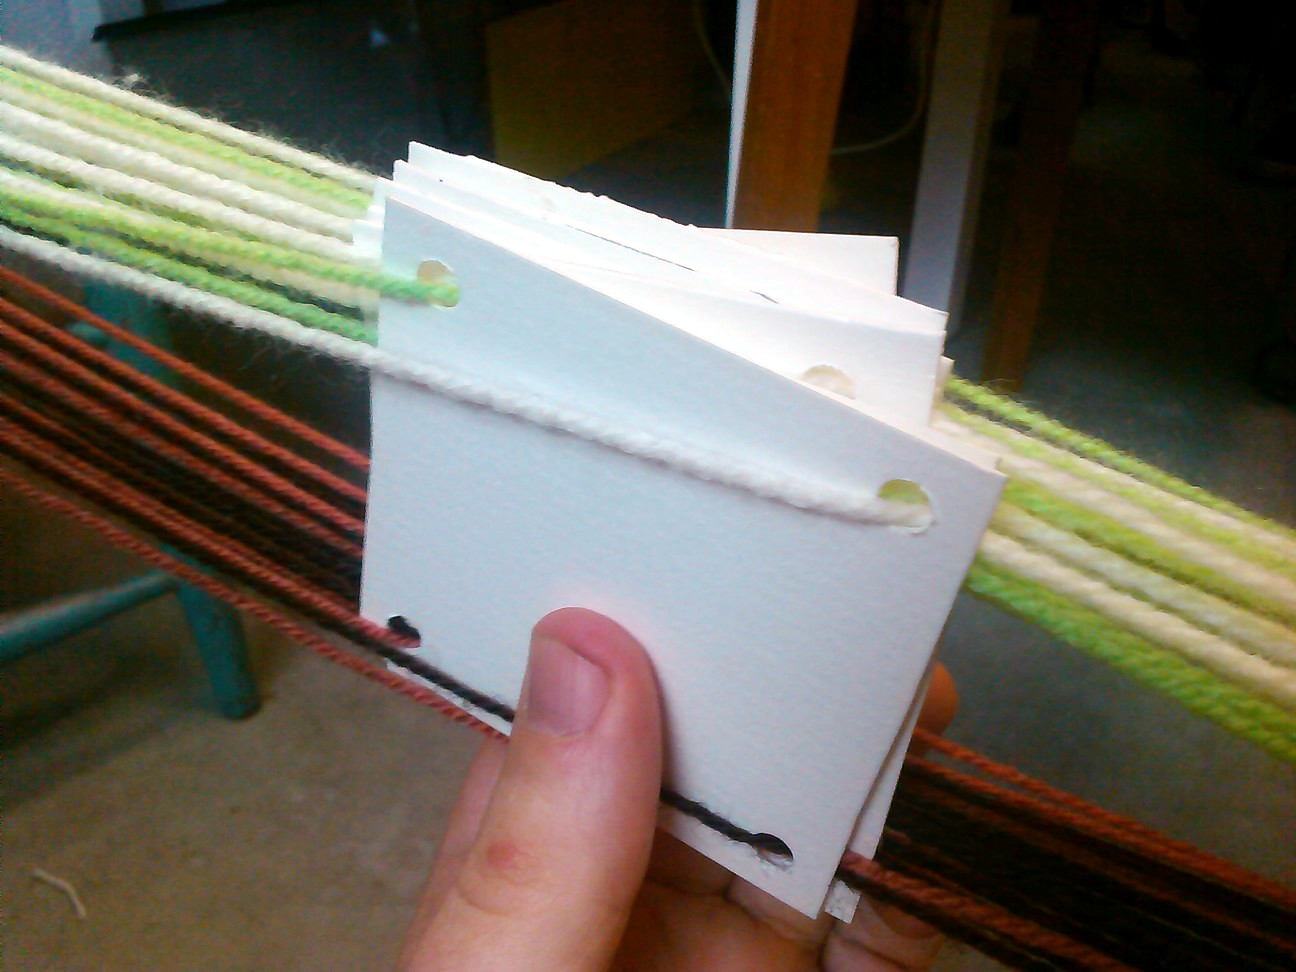
Now we tie the threads together looped over the warp stick furthest from the yarn, this knot is temporary.
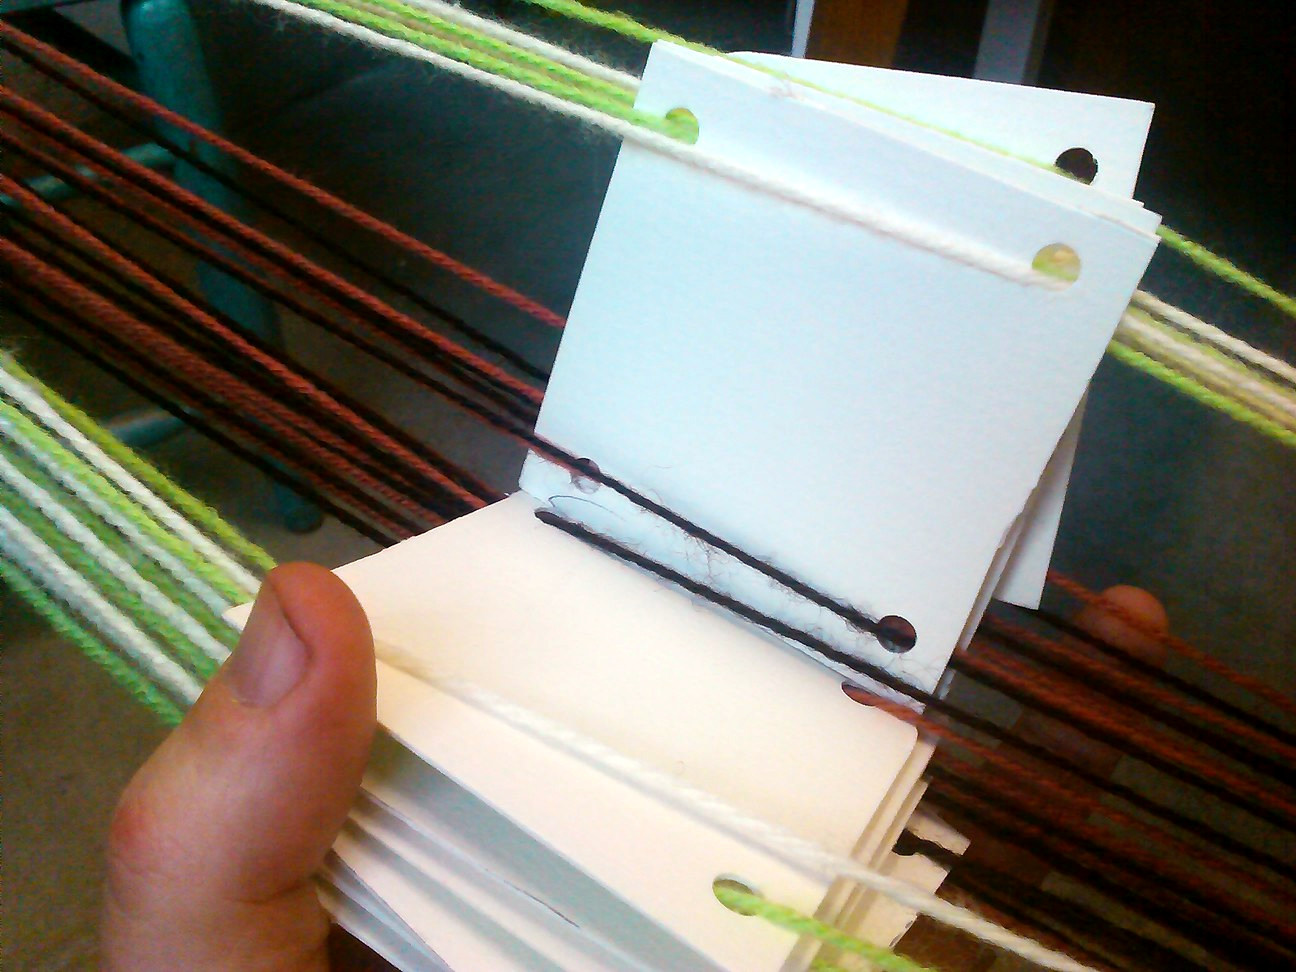
Hook the other end of the warp over the stick on the other side, and leave one of the tablets half way along. Loop it back again leaving another tablet – go backwards and forwards repeating.
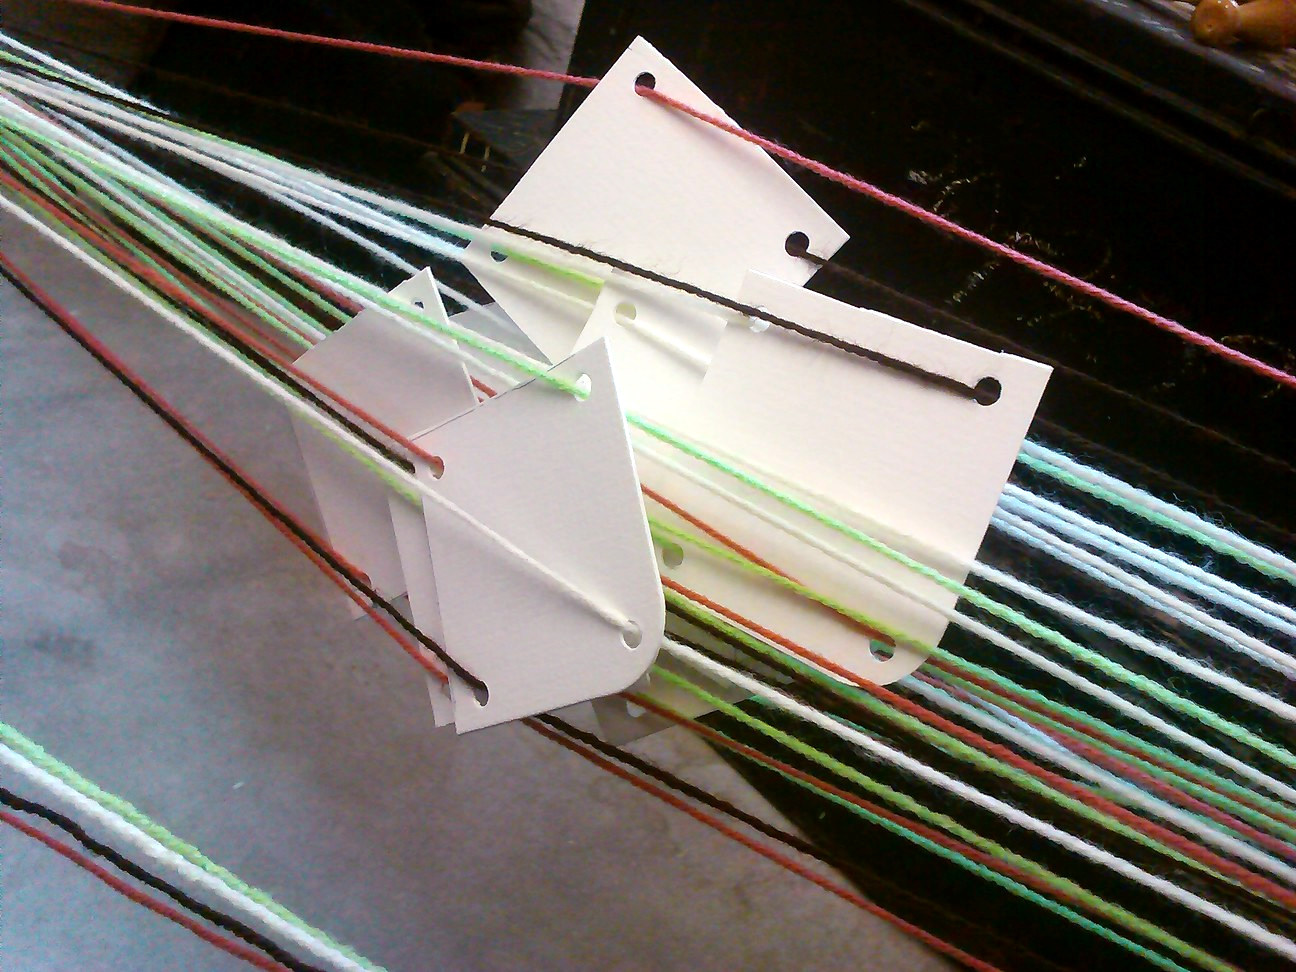
I can never manage to keep the tablets in order, and usually end up with a mess like this – don’t panic if you get a similar result!
When you have done all of the tablets, quickly check that every warp pass has a card associated with it and then cut the first knot and tie the last warp threads to the first.
This gives you a continuous warp, which is good for adjusting the tension. Group all the cards together and arrange them so the colours are aligned – rotate them until the same colours are at the top and the bottom.
This is also a good point to check the twist of the tablets so they alternate in terms of the direction the threads are coming from. This is quite difficult to explain with text but these images may help. It’s basically a bit easier if they are consistent when you start weaving, then you can see how changing this alters the patterns as you go.

You can actually reorder and flip the tablets at any time, even after starting weaving – so none of this is critical. It’s handy to equalise the tension between the warp threads at this point though, so grab all the cards in alignment, put some tension on the warp and drag them up and down the warp – if the loops at either end are not too close this should get the lengths about the same.
Once this is done, tie all the tablets together to preserve their order and alignment.
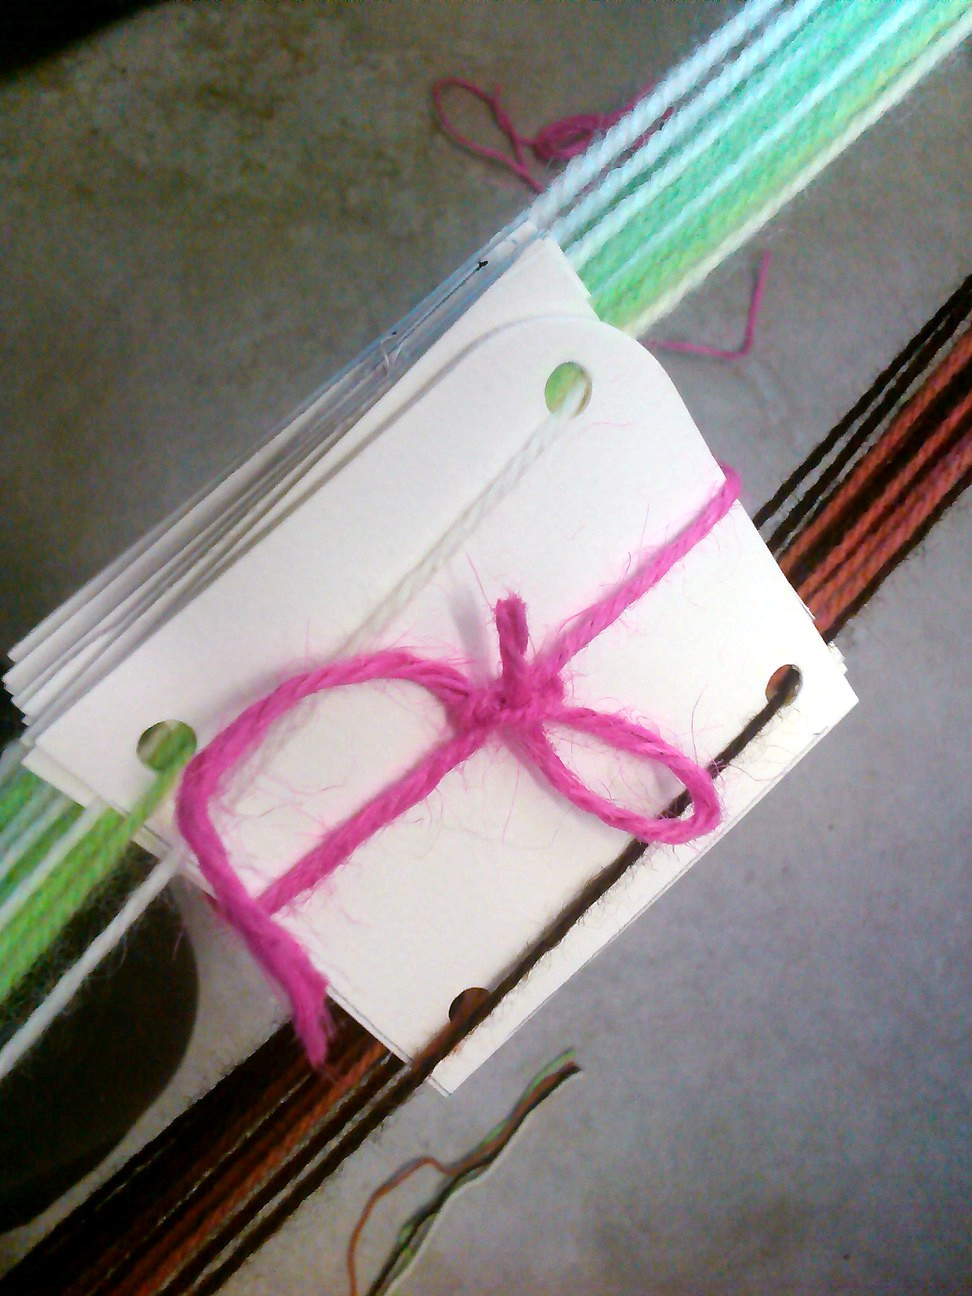
Then tie loops of strong cord around both ends of the warp.
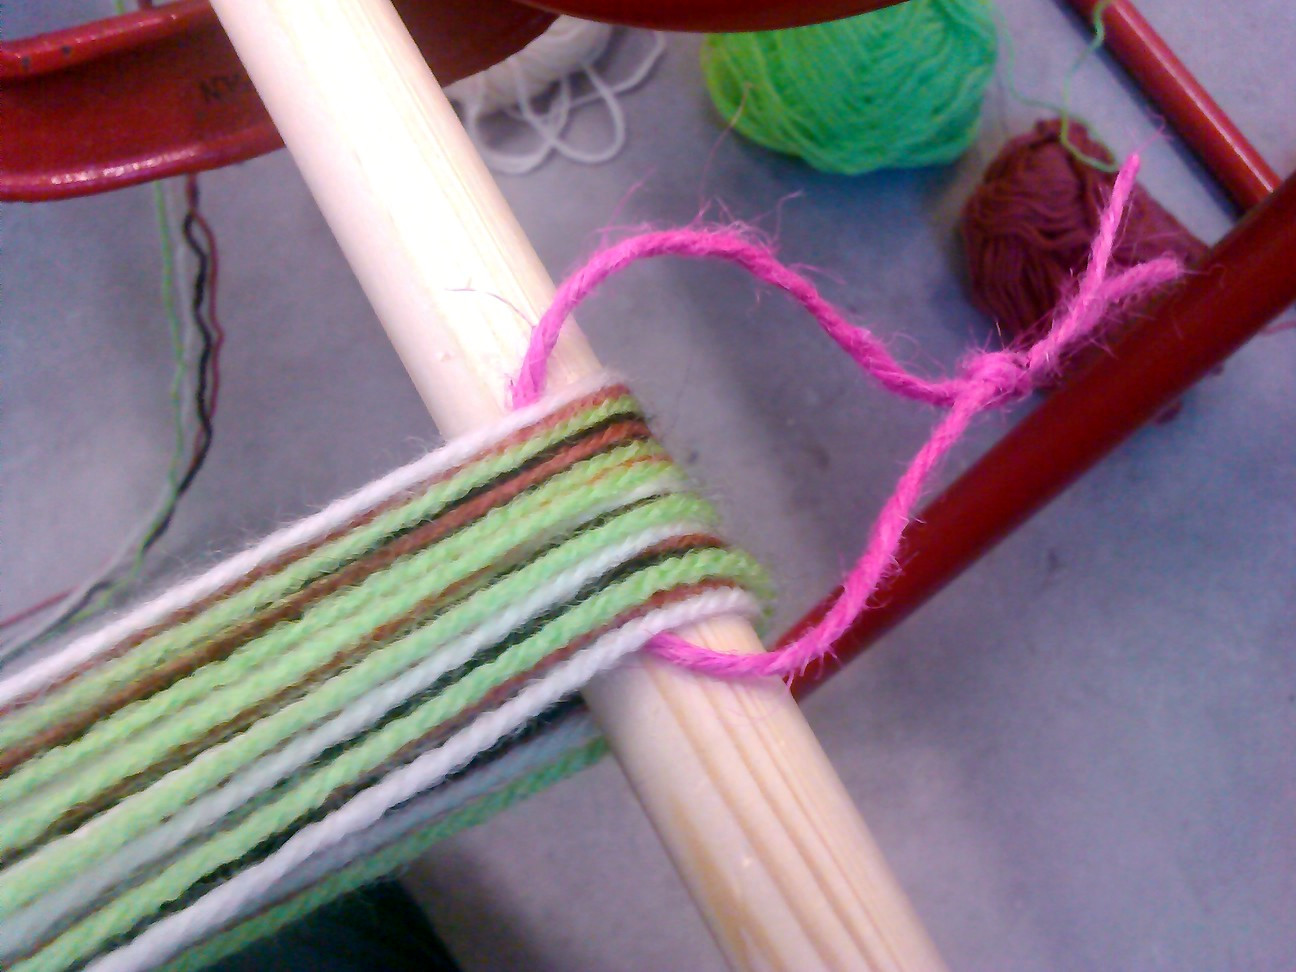
Then you’re done – you can pull the ends off the sticks and start tablet weaving!
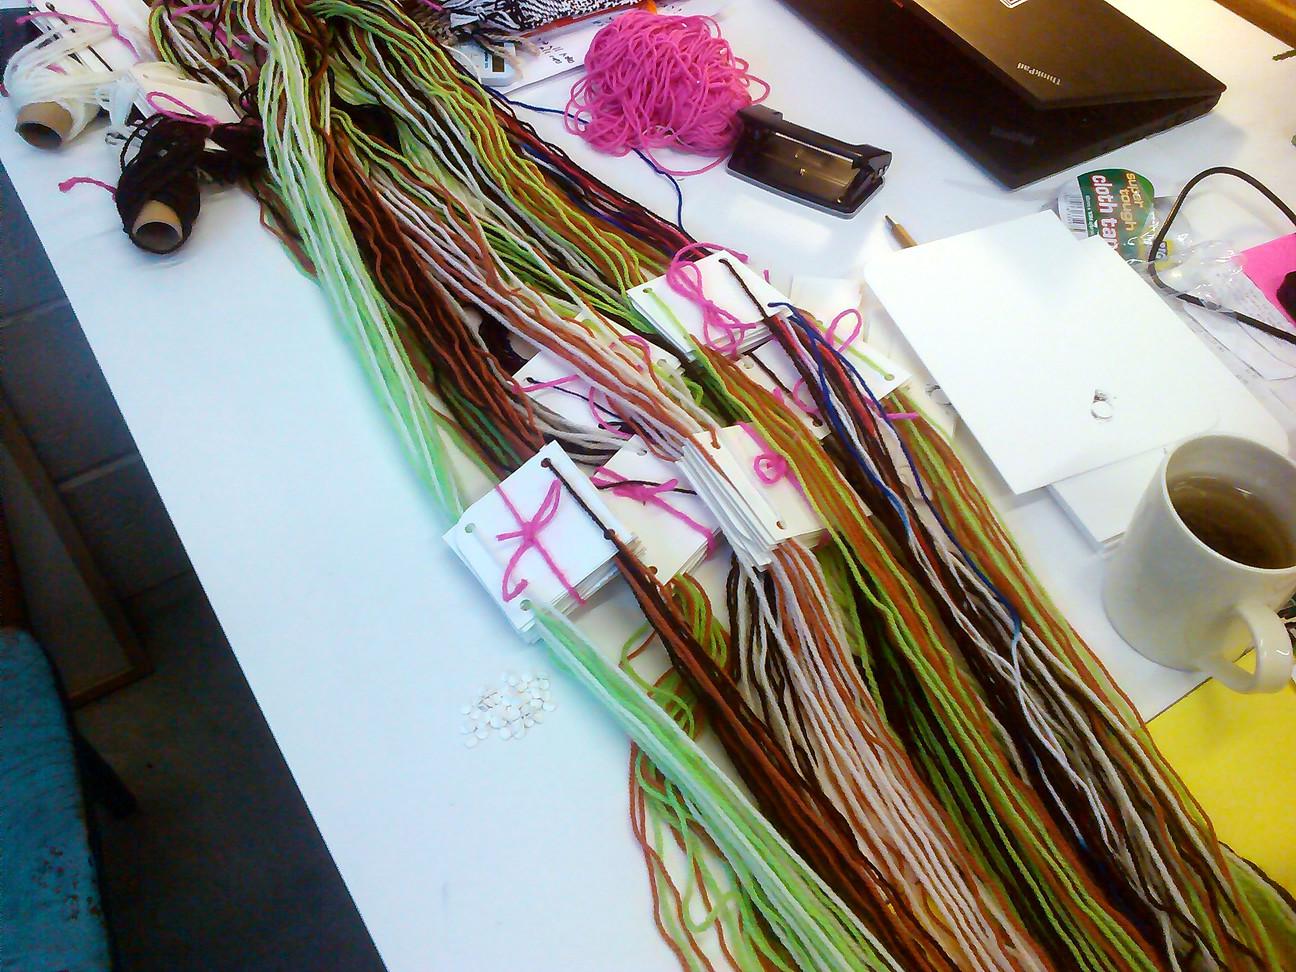
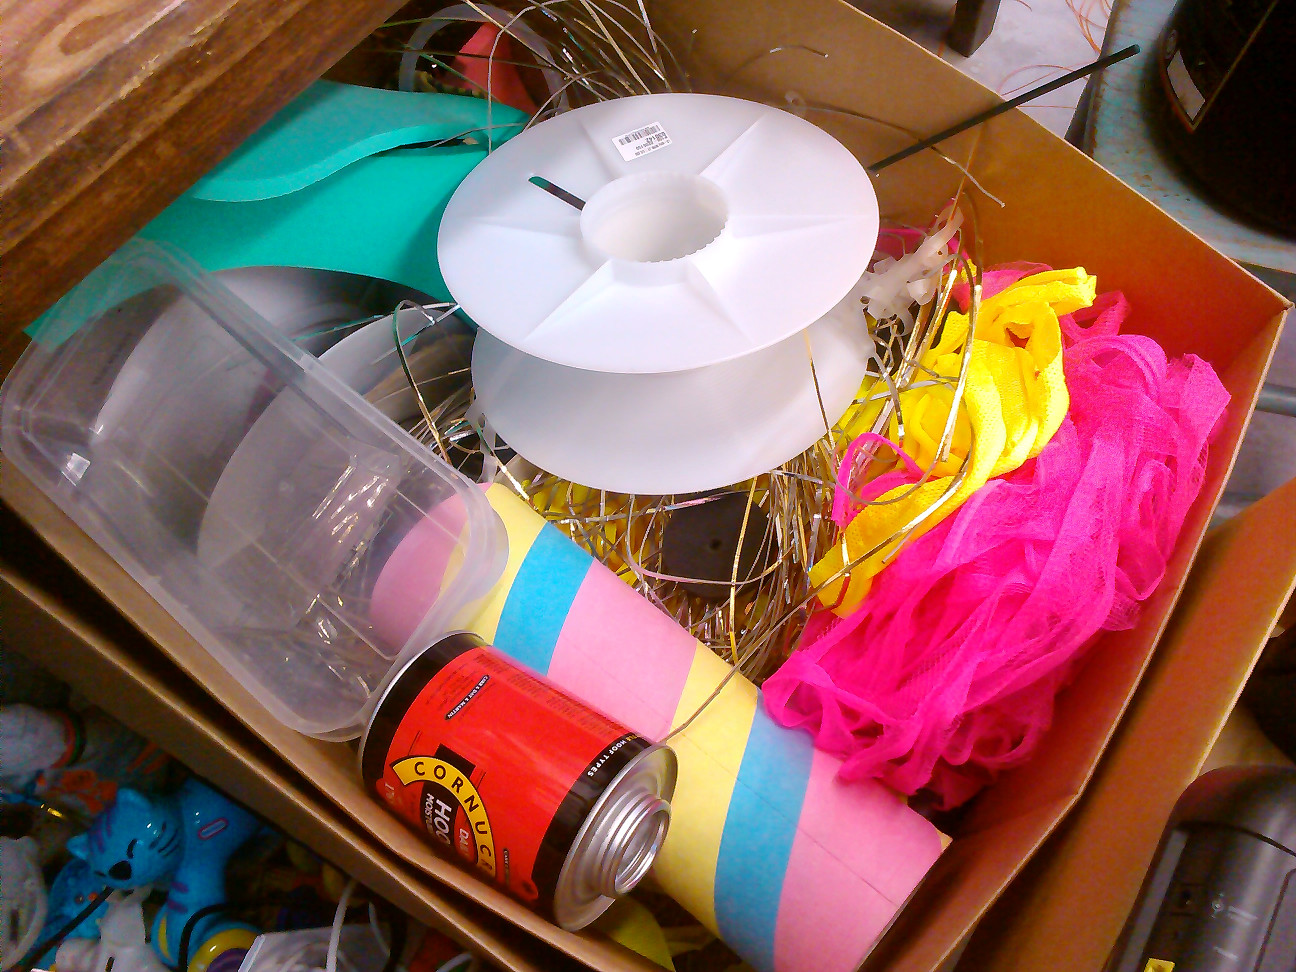
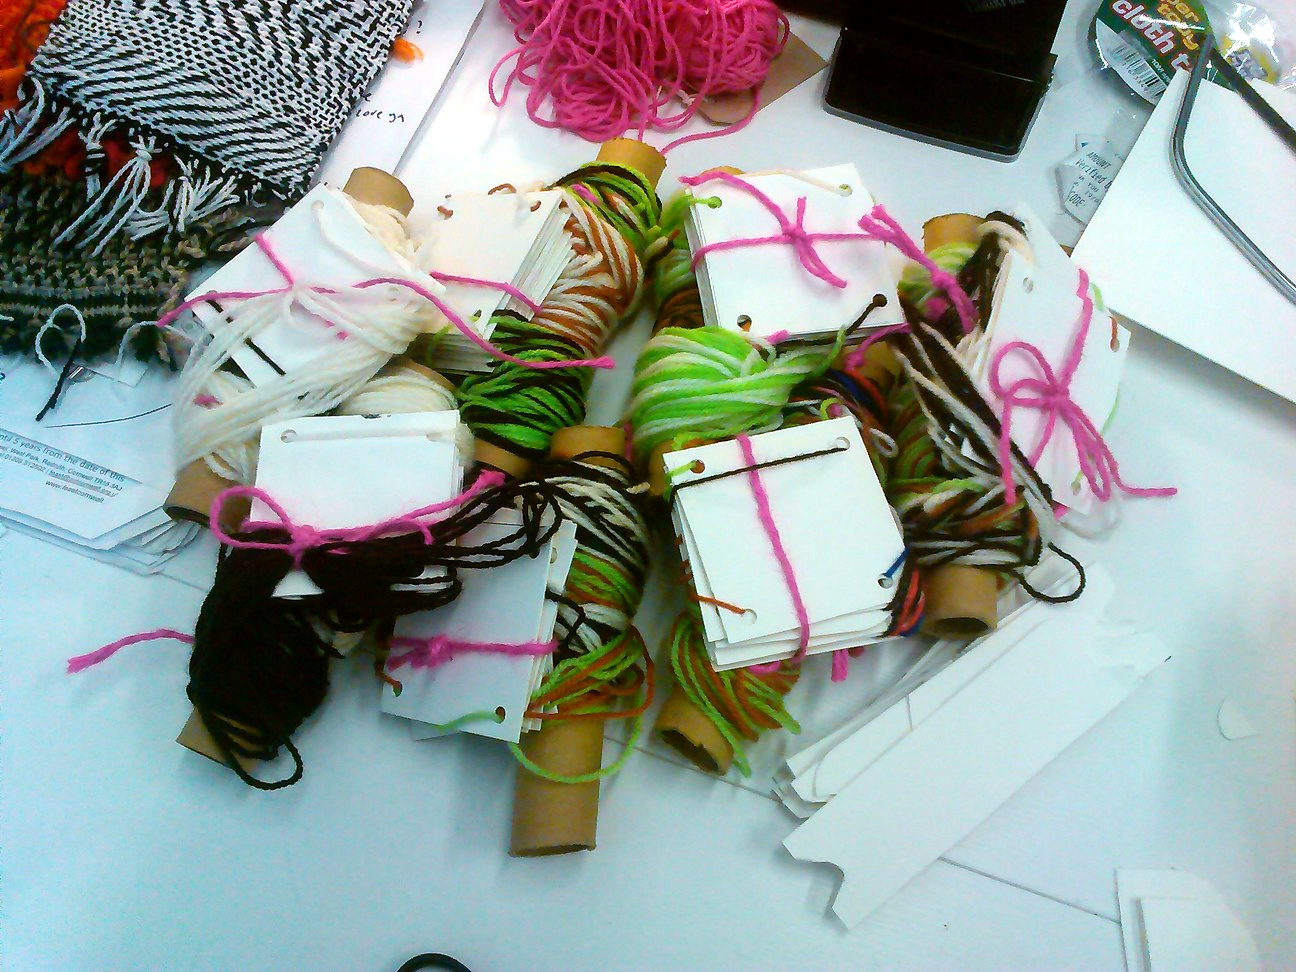
As I needed to transport the tablet looms I wrapped the warps (keeping the upper/lower threads separated) around cardboard tubes to keep the setup from getting tangled up. This seemed to work well:
If you find one of the warp threads is too long and is causing a tablet to droop when the warp is under tension, you can pull it tight and tie it back temporarily, after weaving a few wefts it will hold in place.
The two most important things I’ve learned about weaving – the older the technique the more forgiving it is to mistakes, and you can never have too many sticks.